Informational Guide Regarding Wifi.Wavlink.Com Login
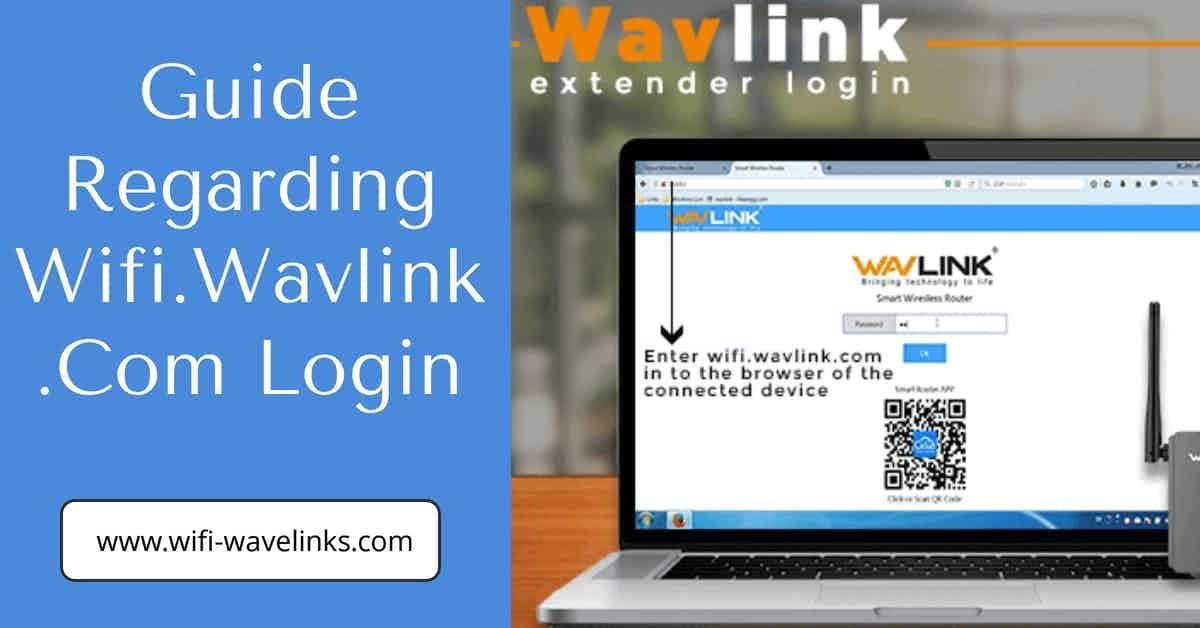
You can install a Wavlink extender setup using either a wired or wireless connection. It is advised that new users set up the range extender through an Ethernet cable connection by accessing 192.168.10.1 or you can also visit www.Wifi.wavlink.com. To learn more about the capabilities and functionalities of the Wavlink range extender, you must use a web browser setup approach.
How to connect a Wavlink range extender to a home network?
- Adjust the antennae on the range extender after unpacking it.
- Note: You can use the Quick setup tutorial that comes with the range extender to get started.
- Connect the power supply to the range extender.
- After the range extender has been successfully turned on, turn on the PC or mobile phone's Wifi.
- Look for Wi-Fi networks that are available.
- Use the default wireless settings to connect to the Extender's Wi-Fi network.
- The default Wireless Settings for the extender can be found on the Wi-Fi configuration card that comes with it.
- If you don't use the correct Wi-Fi password, you won't be able to connect.
- Open a browser on your computer once you've joined the extender's network.
- In the browser's address box, type 192.168.10.1 or wavlink.com.
- After pressing enter, the configuration page will show on the screen.
- In the given field, type the default login password and click Login.
- The Wavlink range extender login window's default password is "admin."
- Choose a country region, a time zone, and a login password.
- Choose your time zone from the drop-down menu. It is determined by the location from where you operate the extender.
- When you're finished, click Next.
- Assign a new Network Name and Wi-Fi password to personalize the Wi-Fi settings.
- Select the "Use the same password for both networks" option if you wish to use the same Wi-Fi password for both bands.
- Assign a security level to the network of a router.
- After that, click Next.
- With the help of the summary page, go through the settings you made.
- Finally, click Finish.
- The range extender starts the reboot procedure to apply the new settings.
- Allow for a few seconds for the process to complete.
- After that, go to your desktop and use the new Wireless settings to connect to the extender's network.
- Once connected, create a new login password for the wifi.wavlink.com interface.
Select Login and the Wavlink range extender's functions and settings are accessible and you can now configure wavlink extender according to your preferences.
Once
the configuration is complete, you can relocate the range extender. The
Wavlink range extender's signal LED can be used to locate an
appropriate position for the device. The blue LED on the Signal LED
indicates that the Wi-Fi range extender is in a good location, while the
red LED indicates that the main router has to be brought closer to the
range extender. For more information on this, you can contact our
professionals or visit www.wifi.wavlink.com.

Comments
Post a Comment