Posts

Showing posts from April, 2022

Wavlink Repeater Setup And Reset - www.wifi.wavlink.com

Image
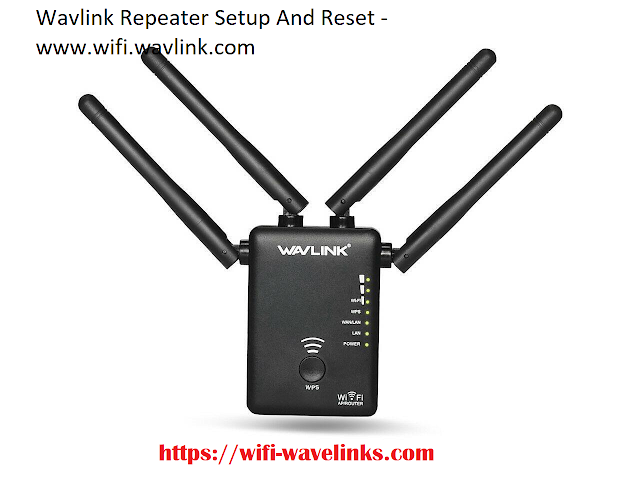
In today’s time, bad internet speed is something we can’t afford. So, getting your hands on a Wavlink wifi repeater is indeed the best choice. But for implementing this choice into action, Wavlink extender setup is mandatory. Like other devices, the wavlink wifi repeater might also have glitches while working which slumps the signal strength and the network connection. You must try to reset the Wavlink repeater to get rid of such errors. In this blog, we will discuss the extender setup  at www.wifi.wavlink.com and how to reset the wavlink repeater when there is a glitch.  Easy Steps For Wavlink Setup -  You can install Wavlink repeater using two distinct methods, namely, web browser method and WPS method; Internet Browser Setup Method- First of all, unpack your Wavlink wifi repeater device. Then, attach it to a functional power supply socket and then switch it on. Check the power status from the power LED bulb that might be lit on the repeater device. Adjust the switch towards

www.wifi.wavlink.com: Guidelines for Wavlink Extender Setup

Image
Do you want to perform Wavlink WiFi Range Extender setup using www.wifi.wavlink.com website? Facing the difficulty in the Wavlink extender configuration? If so then this blog might help you. The Wavlink range extender is the ideal choice to increase the wireless connectivity throughout your office or home. The wireless connection of the extender can be utilized for indoor use and for larger properties in which you would like to improve the coverage of your wireless network. The Wavlink extender configuration helps you to solve internet-related issues. It allows you to connect to the internet in dead zones of your office or home. With this device, you can get better speed, security, and faster internet connectivity by connecting your device to wifi.wavlink.com. The extender device works with all types of devices like smartphones, smart TVs as well as Roku. In this blog, you will know the steps for Wavlink extender setup. Let's begin with the wifi range extender configur

192.168.10.1: Guide to Setup Wavlink Extender

Image
 Do you want to perform the Wavlink WiFi extender? Are you facing issues in accessing the www-wifi-wavlink-com web address? Facing trouble with 192.168.10.1 login for Wavlink extender setup? If so, then don’t worry! You reached the right platform. In this blog, you will get to know how to set up the Wavlink WiFi extender using the www-wifi-wavlink-com web address. Through this web address, you can boost the WiFi signals and extend the connectivity range of the WiFi network. Keep reading and check out the steps one by one. Let’s get started without any further delay.   Guidelines for Wavlink WiFi Extender Login via www.wifi.wavlink.com Go through the below instructions for the Wavlink WiFi extender login by using the www.wifi.wavlink.com web address: Step 1: The first step is to open the web browser of your choice from your system. Step 2: After that, enter the www-wifi-wavlink-com web address in the address bar of the web browser. If this web address does not work for you

192.168.10.1 Login for Wavlink Extender Setup

Image
Have you purchased a new Wavlink WiFi Range Extender? Want to set up the Wavlink range extender using www.wifi.wavlink.com ? Facing issues with 192.168.10.1 Wavlink login? If the answer to these questions is yes, don’t worry! You have reached the right spot. In this blog, you will learn how to access 192.168.10.1 admin for the Wavlink setup . Once you configure the wavlink extender, you can enhance the WiFi signals coverage and improve the overall wireless network performance. Keep reading till the end and check out the steps to install wavlink repeater .   Steps for Wavlink Extender Setup Using www.wifi.wavlink.com Look at the below steps for the Wavlink setup by using the www.wifi.wavlink.com web address: Step 1: The first step is to connect the Wavlink range extender to the reliable power socket. Step 2: After that, set the Wavlink extender in the repeated mode. Step 3: Thereafter, turn on any WiFi-enabled wireless device and connect it to the extender network of your